P-System Configurator

Catalogue
Country and language selection
EU-EN


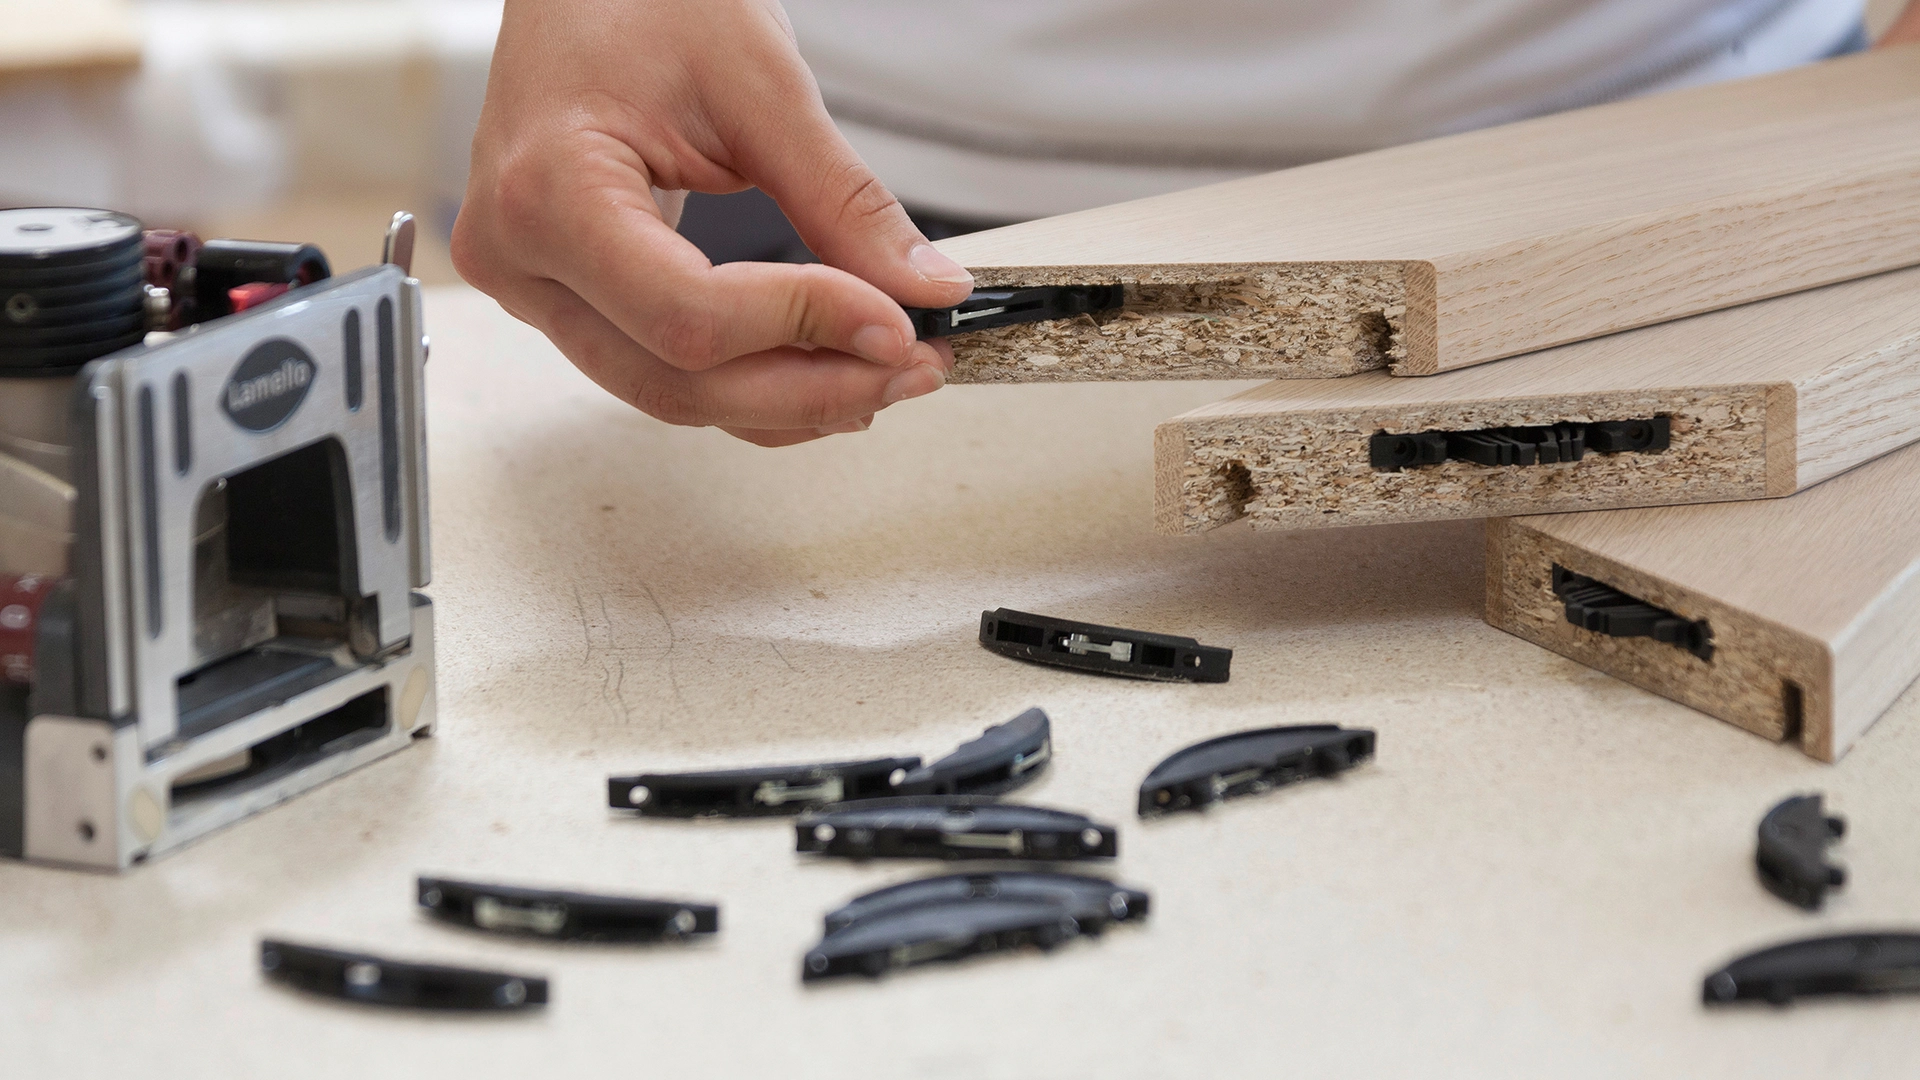




Fresh from the press: Lamello customers reveal why they choose Lamello connectors
Fresh from the press: Lamello customers reveal why they choose Lamello connectors

Discover a wide range of application inspirations joined using Lamello products
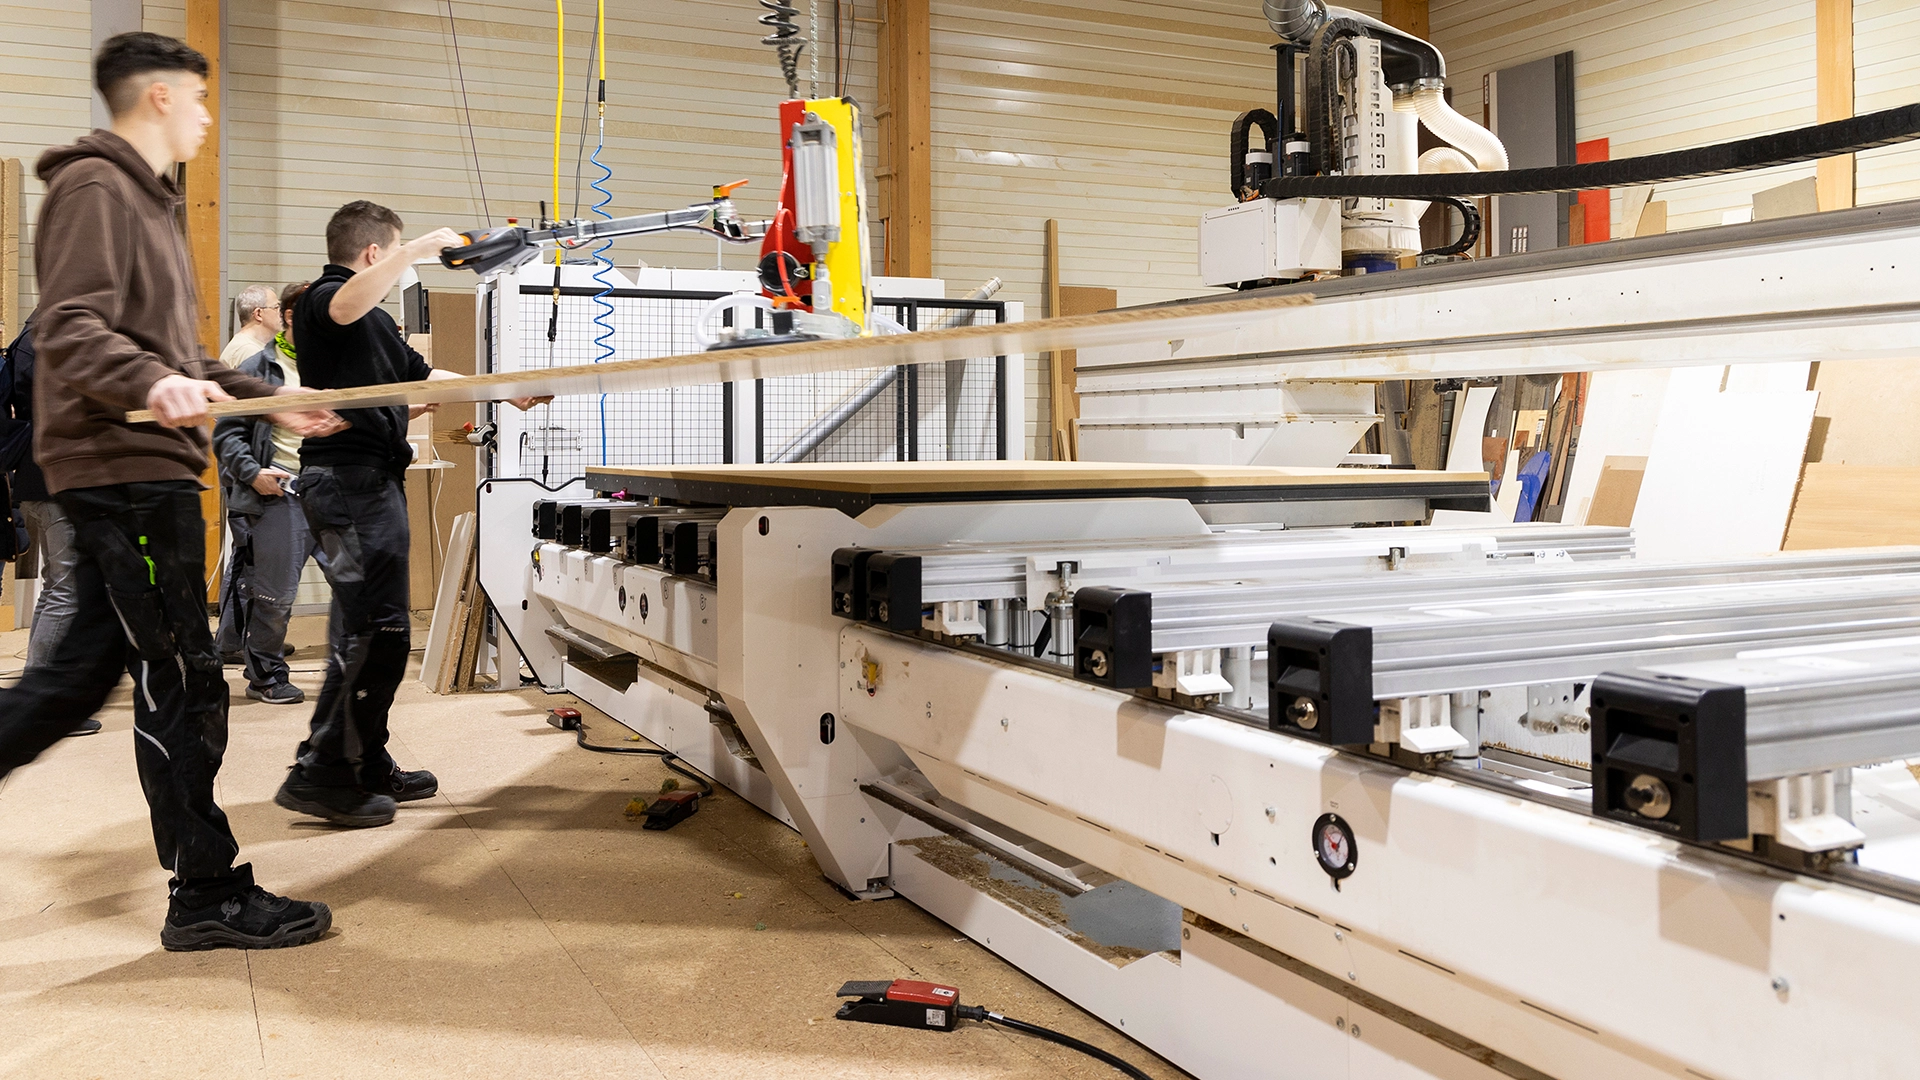
Reasons and principles for integrating Lamello connectors into your production
Reasons and principles for integrating Lamello connectors into your production
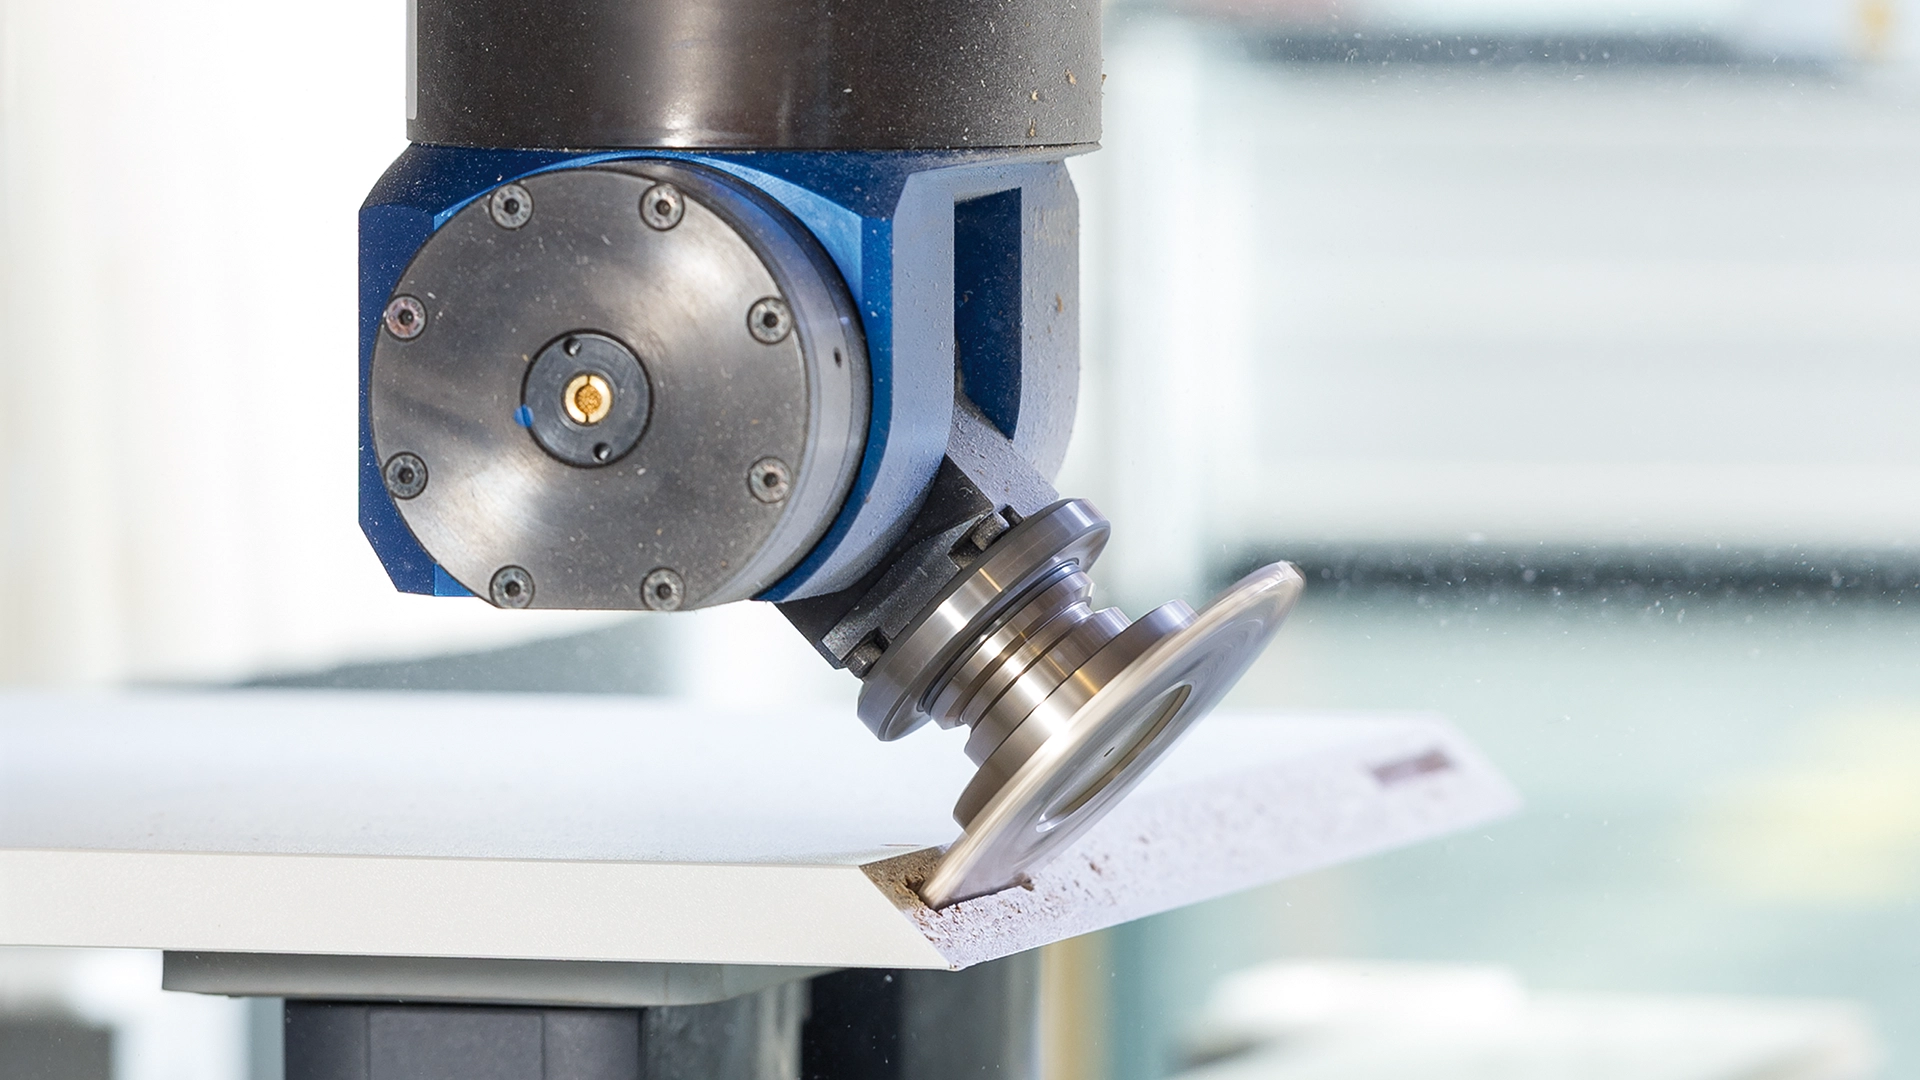
Has your production software integrated the Lamello connectors? Read more about it here

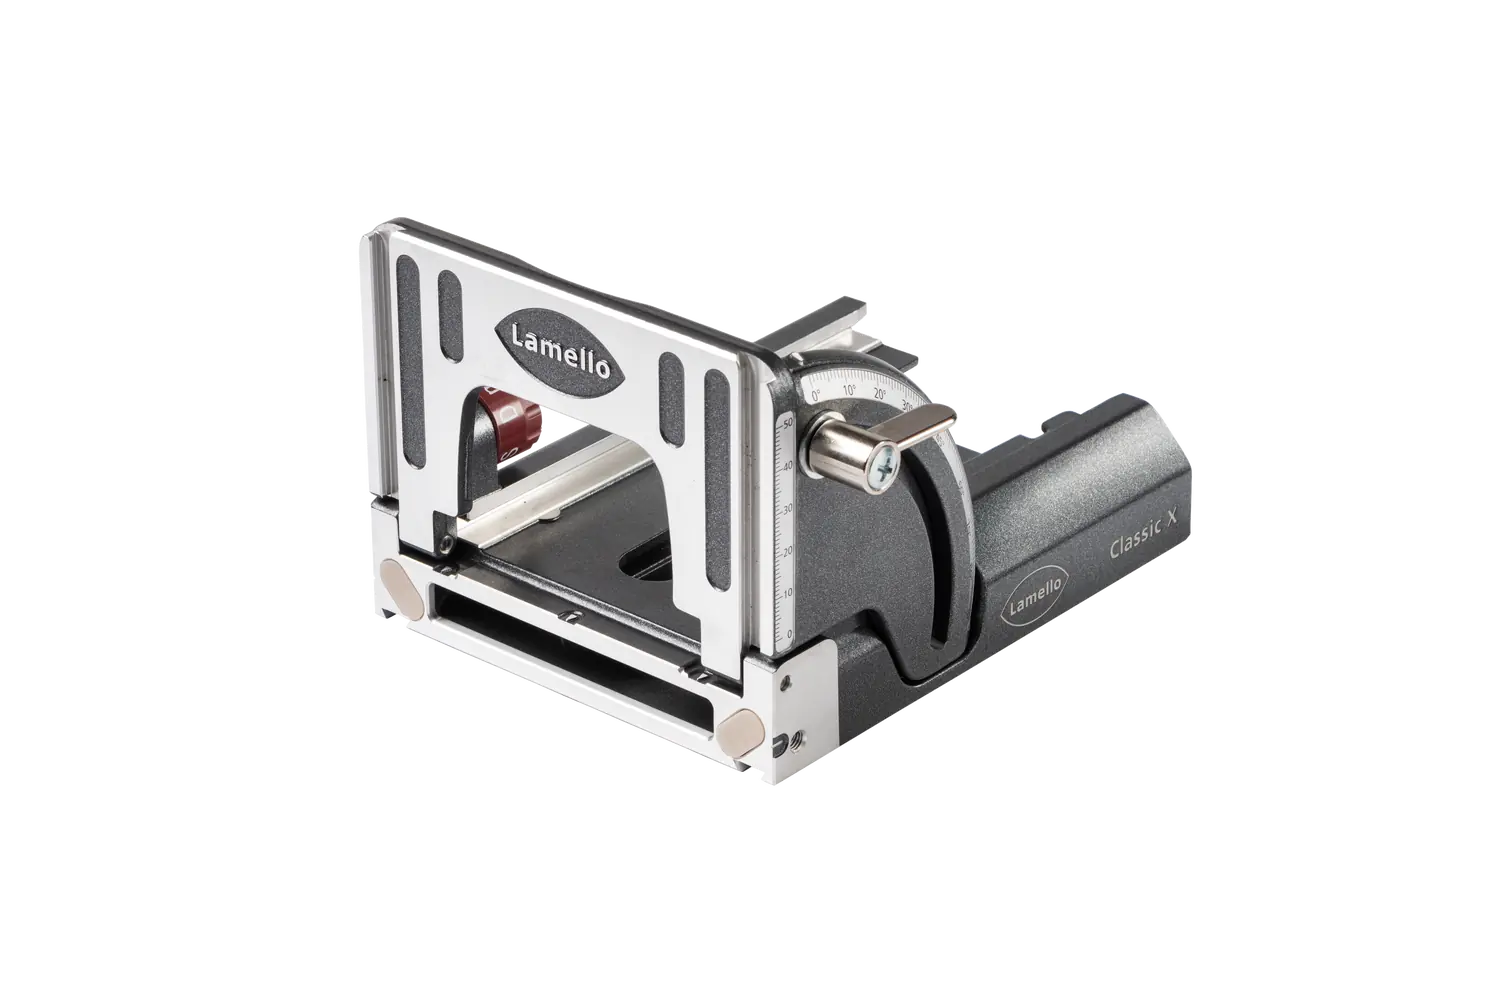
Discover the advantages of Lamello biscuit joiners and their efficiency

Find the right connector and the correct installation position in next to no time

Find the right connector and the correct installation position in next to no time

Solutions for tricky application situations and top tips for practitioners
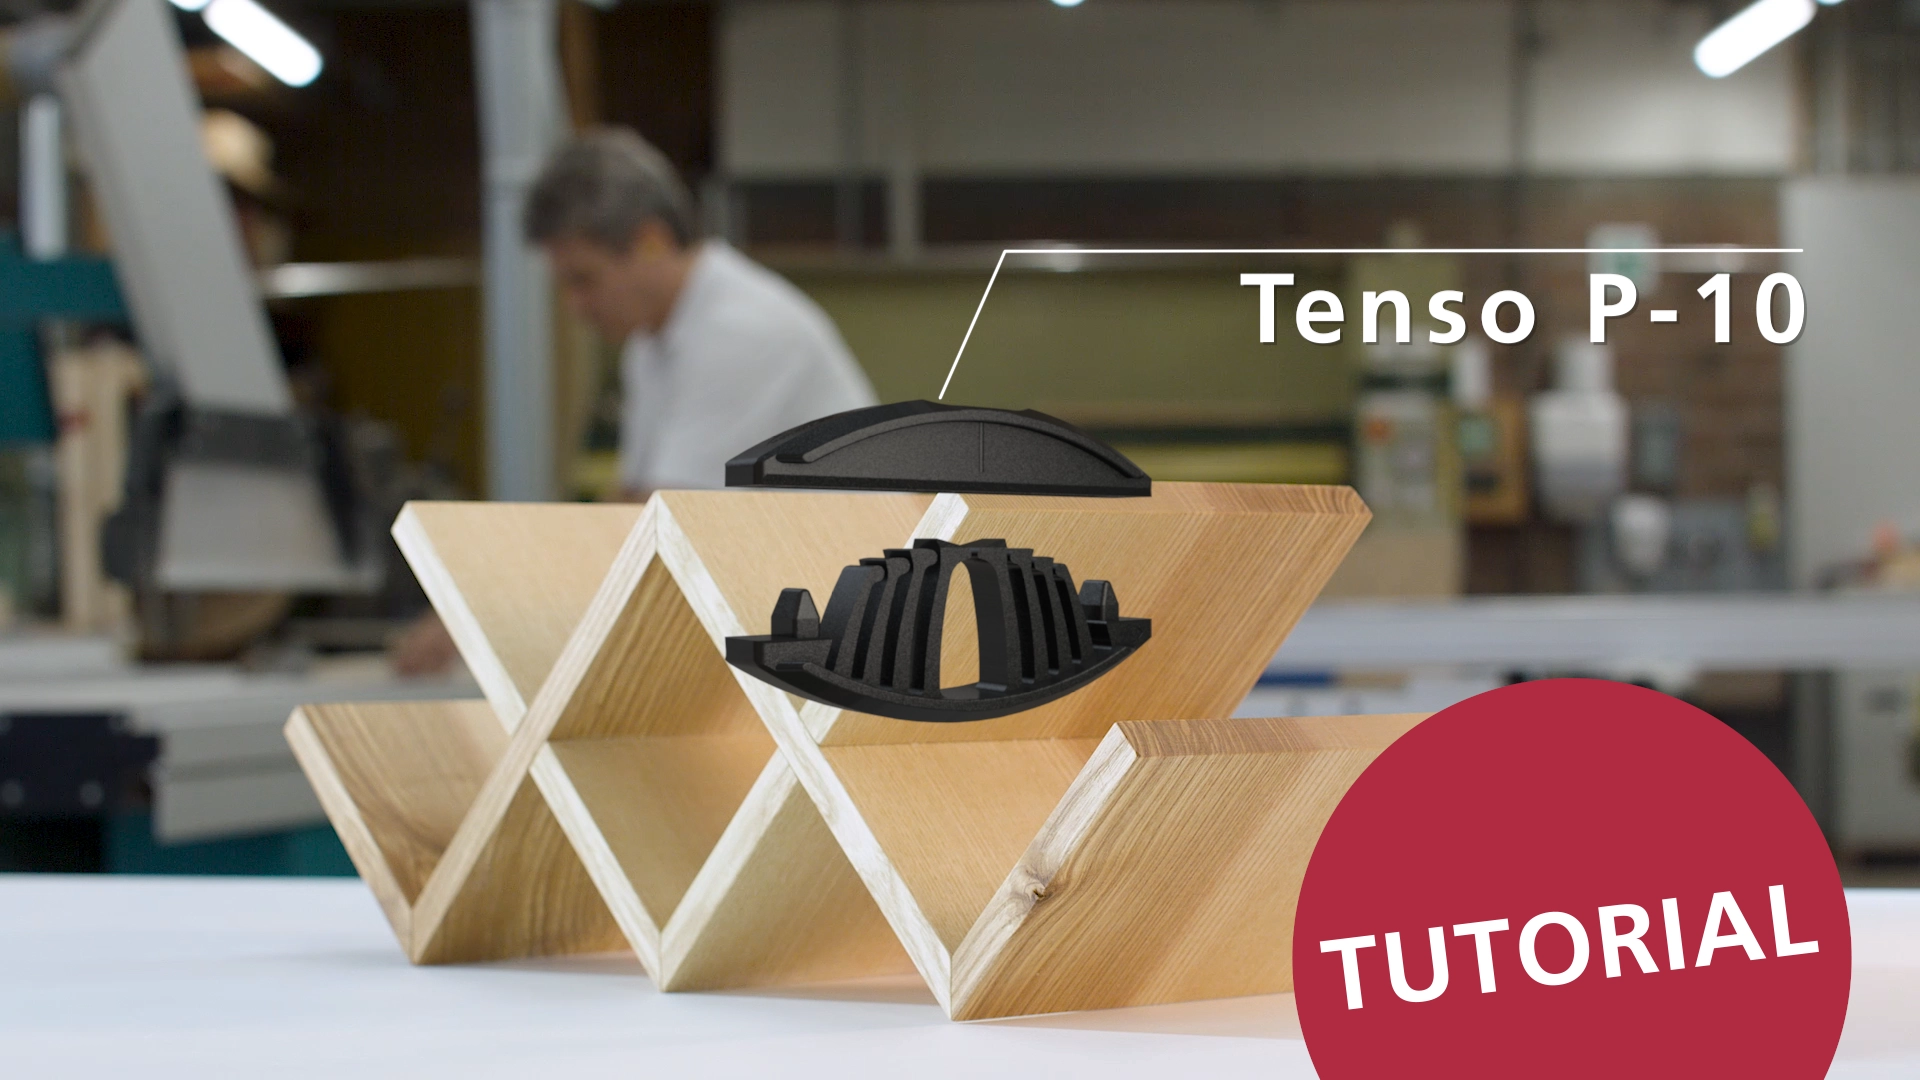
The use of Lamello products in different applications explained step by step